





























A Guide to Curtain Hardware
How you dress your windows can have a big impact on the overall look of a room. Choosing the correct window treatment can often be difficult. Curtains soften a space and there are endless fabrics to choose from.
Once you have decided on curtains, the next task is hanging them properly. We have put together this simple guide to help you understand curtain poles, finials, brackets, rings and the basic fitting process.

Our striking curtain hardware is both practical and beautiful. Skilfully forged by hand from solid steel, it exudes character and charm. We offer a choice of elegant finial designs and traditional finishes including Beeswax, Pewter and Black.
Curtain Poles
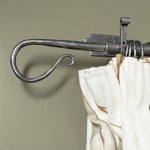
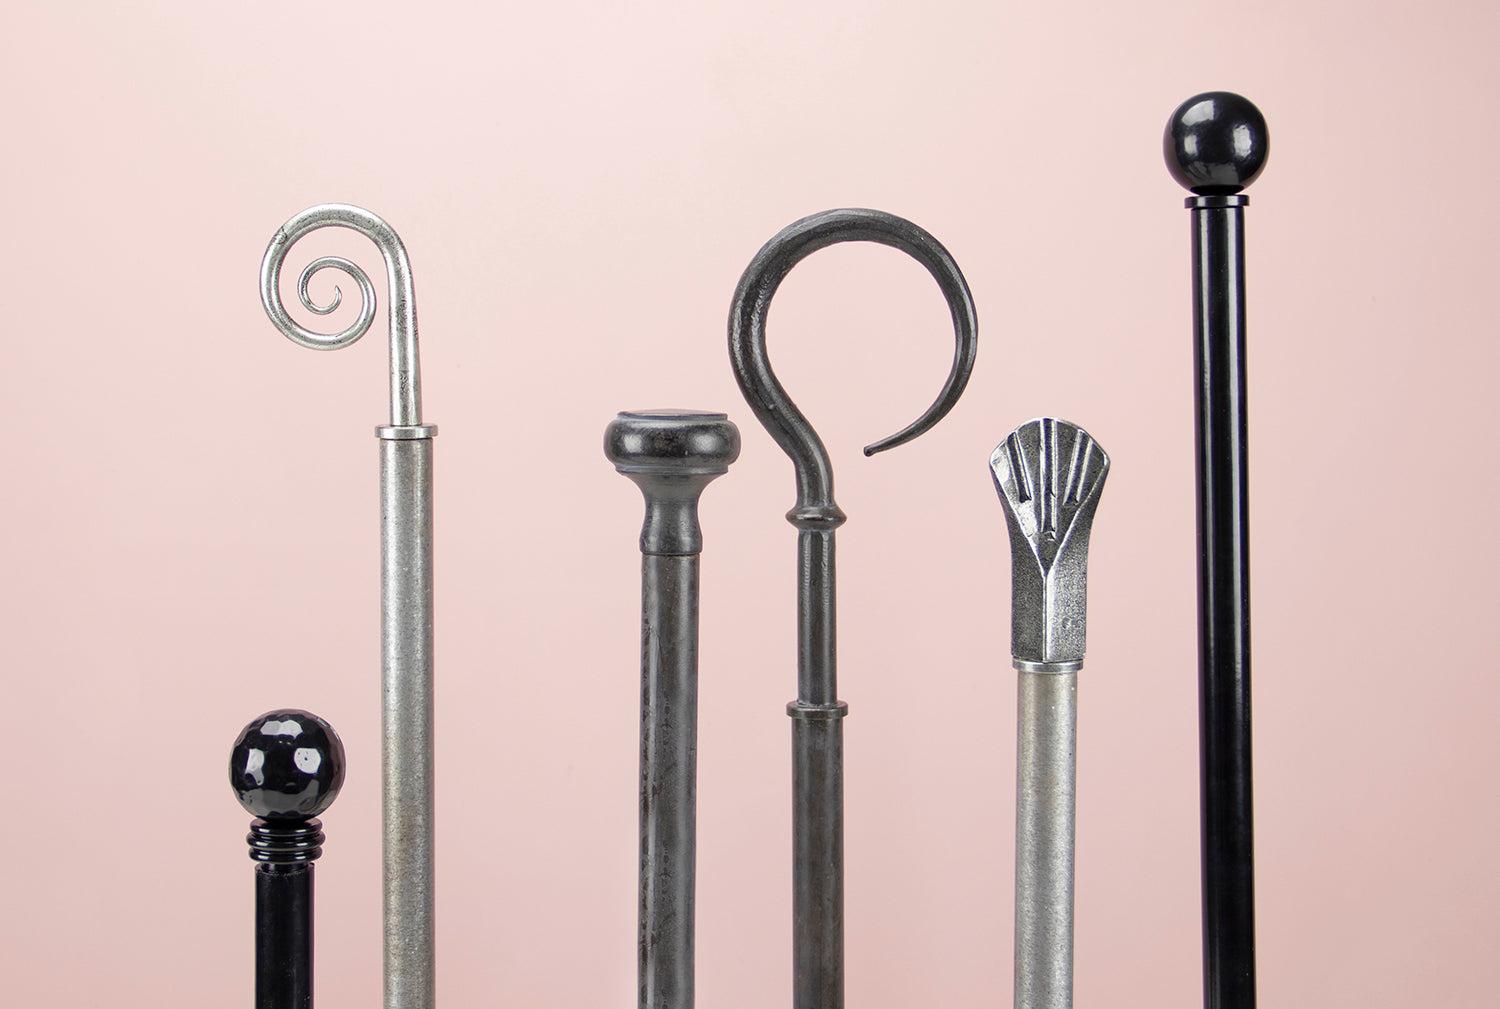
Hand-forged curtain poles available in traditional finishes including Black, Pewter and Beeswax.
View curtain poles
Finials
Finials fix to each end of the pole and help stop curtains from sliding off.
View curtain hardware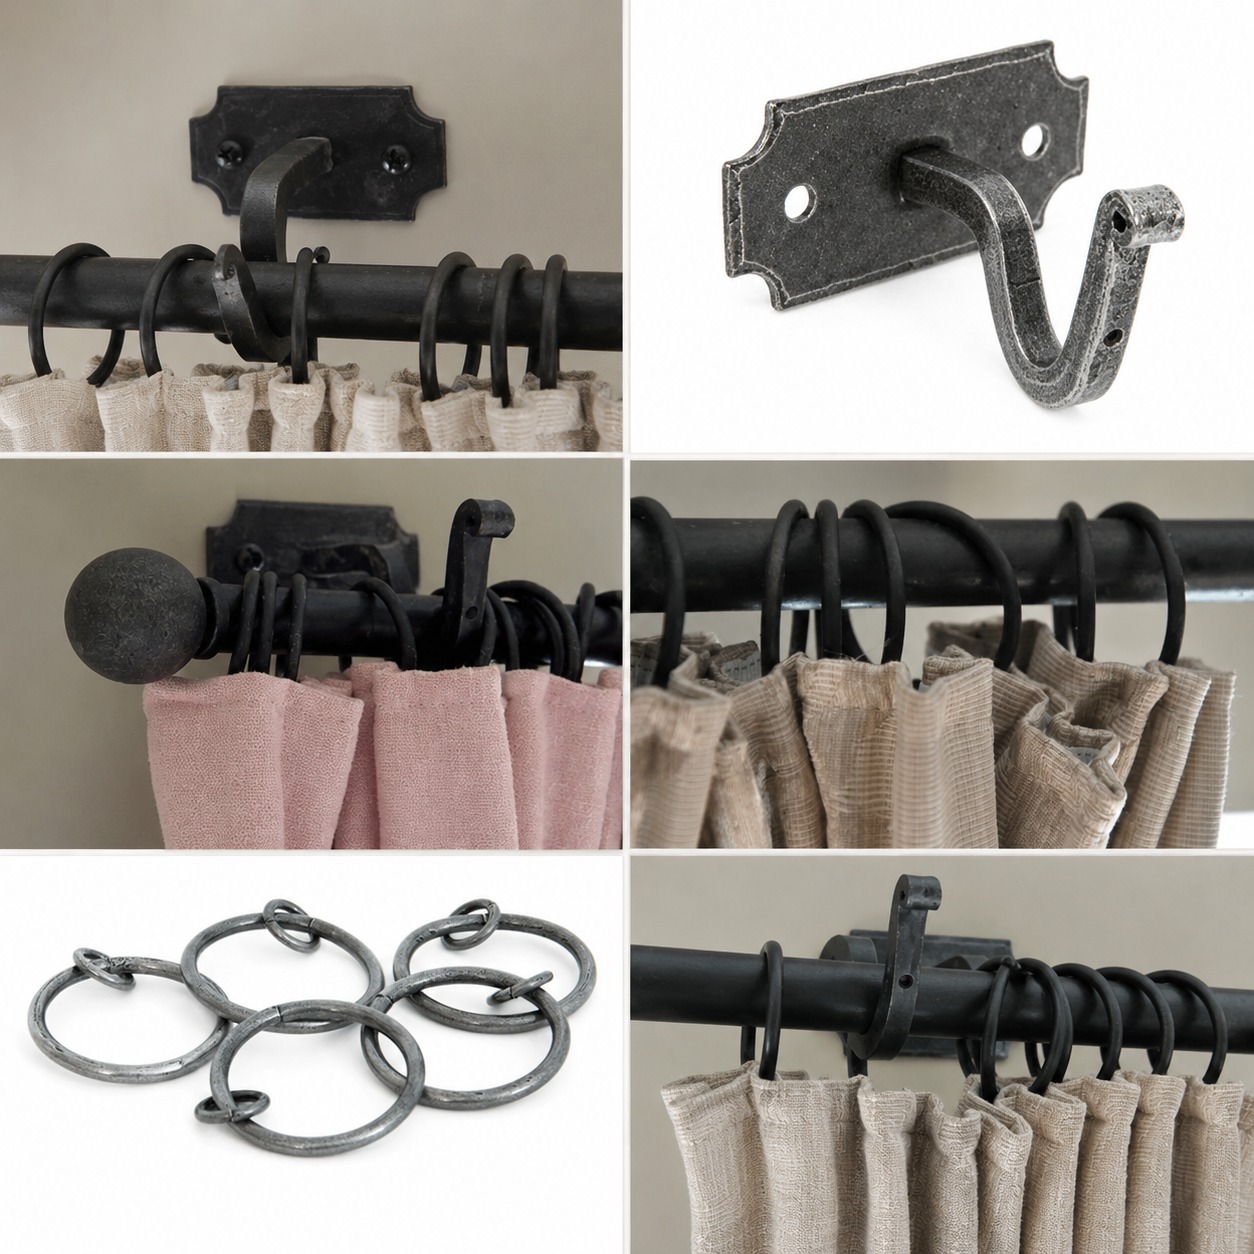
Brackets & Rings
Brackets connect the pole to the wall, while rings and hooks are used for many curtain headings.
View curtain accessoriesCurtain Hardware Explained
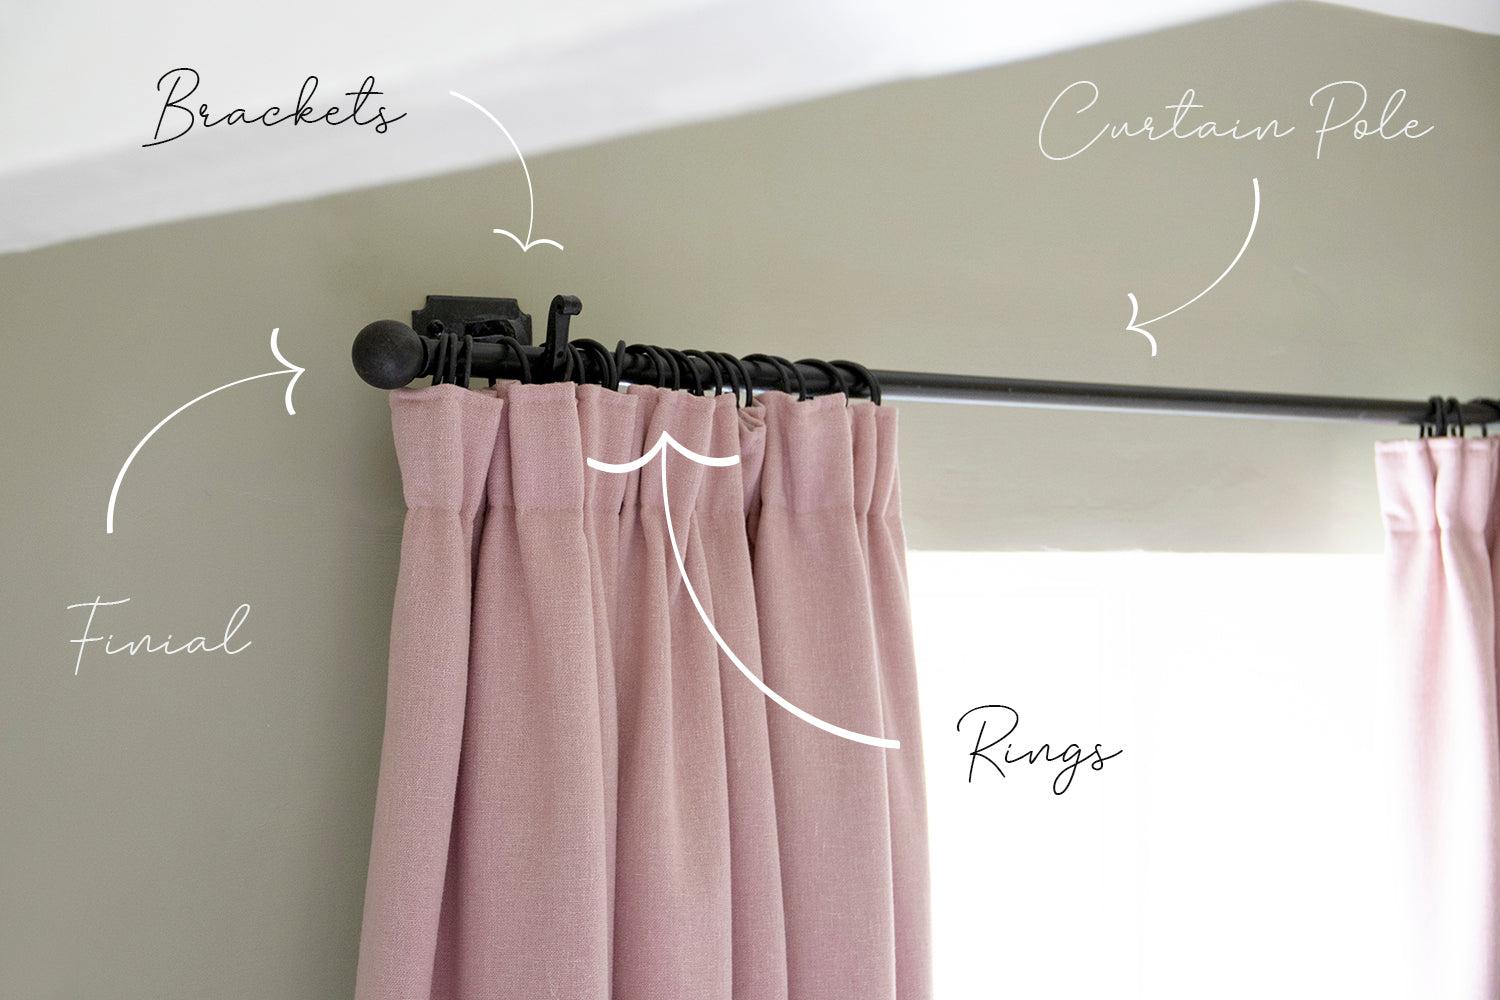
Curtains hang from a curtain pole, which is connected to the wall by two or more curtain brackets. Our poles come in 1m, 1.5m and 2m lengths. If you require a longer pole, an aluminium joining bar can be used to join two poles together.
The curtain finials are fixed on each end of the pole with a grub screw. Finials come in many different designs and anchor the curtain, making sure it does not slide off the pole. Curtain tie backs can also be fixed to the wall to hold the curtains in place when open.
- Curtain pole: the main rail that supports the curtains.
- Curtain brackets: the wall-mounted supports that hold the pole.
- Finials: decorative ends that anchor the curtain and complete the look.
- Curtain rings: used with hooks for ring-hung curtains.
- Joining bar: used to connect two curtain poles together.
- Tie backs: wall-mounted accessories that hold curtains open.
Curtain Headings
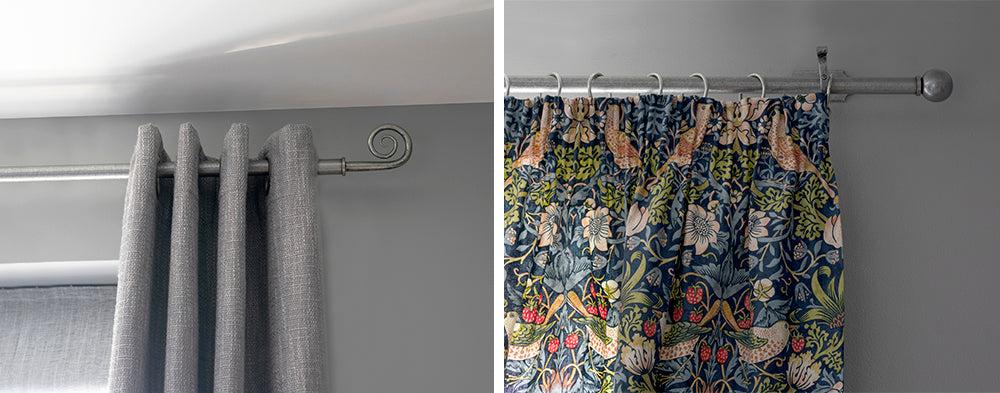
There are several different types of curtain headings. Most commonly, curtains hang from the pole either by eyelets through the curtain itself, fabric tabs, or by using curtain rings and hooks.
If using curtain rings, we suggest using four rings per 300mm.
Drop & Gather
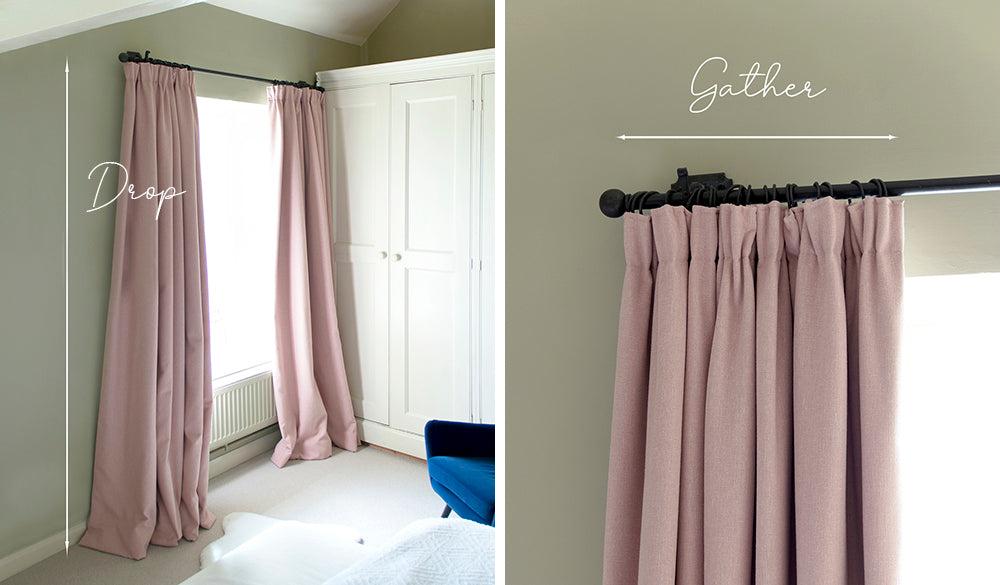
The length of the curtain is known as the drop and the mass of material when drawn is called the gather.
Heavier curtains with thick lining need extra room at each end of the pole for the gather and may require a third fixing bracket to hold the extra weight.
Fitting a Curtain Pole
There are many different window sizes and shapes, so this is just a general guide for fitting a curtain pole. You should adjust the process to suit your window type.
Before fitting the hardware, first consider the type and weight of curtain you wish to hang. Heavier curtains with thick lining need extra room at each end of the pole for the gather and may require a third fixing bracket to hold the extra weight.
It is important to consider the weight of the curtain when choosing your fixings. You may need to use a longer screw and raw plug or more heavy-duty fixings. If you are dressing a large window, you will need to use a third centre bracket.
1. Measure and mark the pole position
Aim to position the pole so that the curtain hangs where you prefer it, whether that is just below sill length or touching the floor. When measuring the drop, remember to factor in whether the curtain hangs from eyelets or rings.
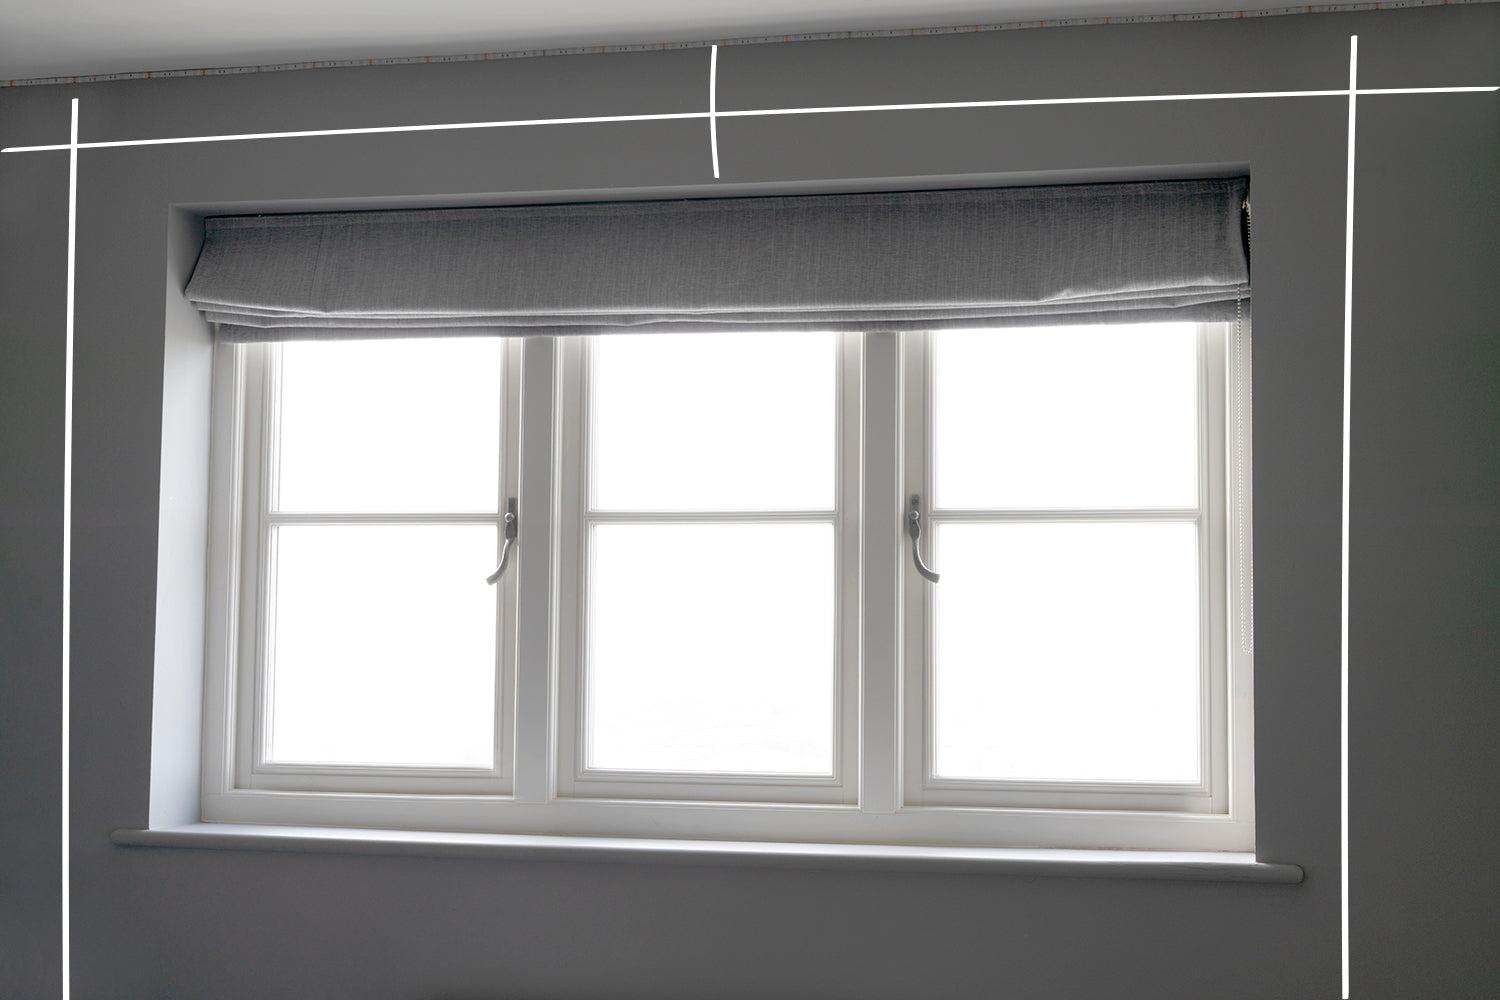
The end brackets should be at least 50mm along from each side of the window recess, probably more if you have thicker curtains, and at least 50mm up from the top edge.
2. Position the centre bracket
Measure the full length of the window and find the centre point. Then measure the curtain drop and mark the fixing position with a cross.
As our curtain brackets are all made by hand, we recommend holding the bracket in the centre of the marked fixing position and using a pencil to mark the position of each screw hole through the bracket.
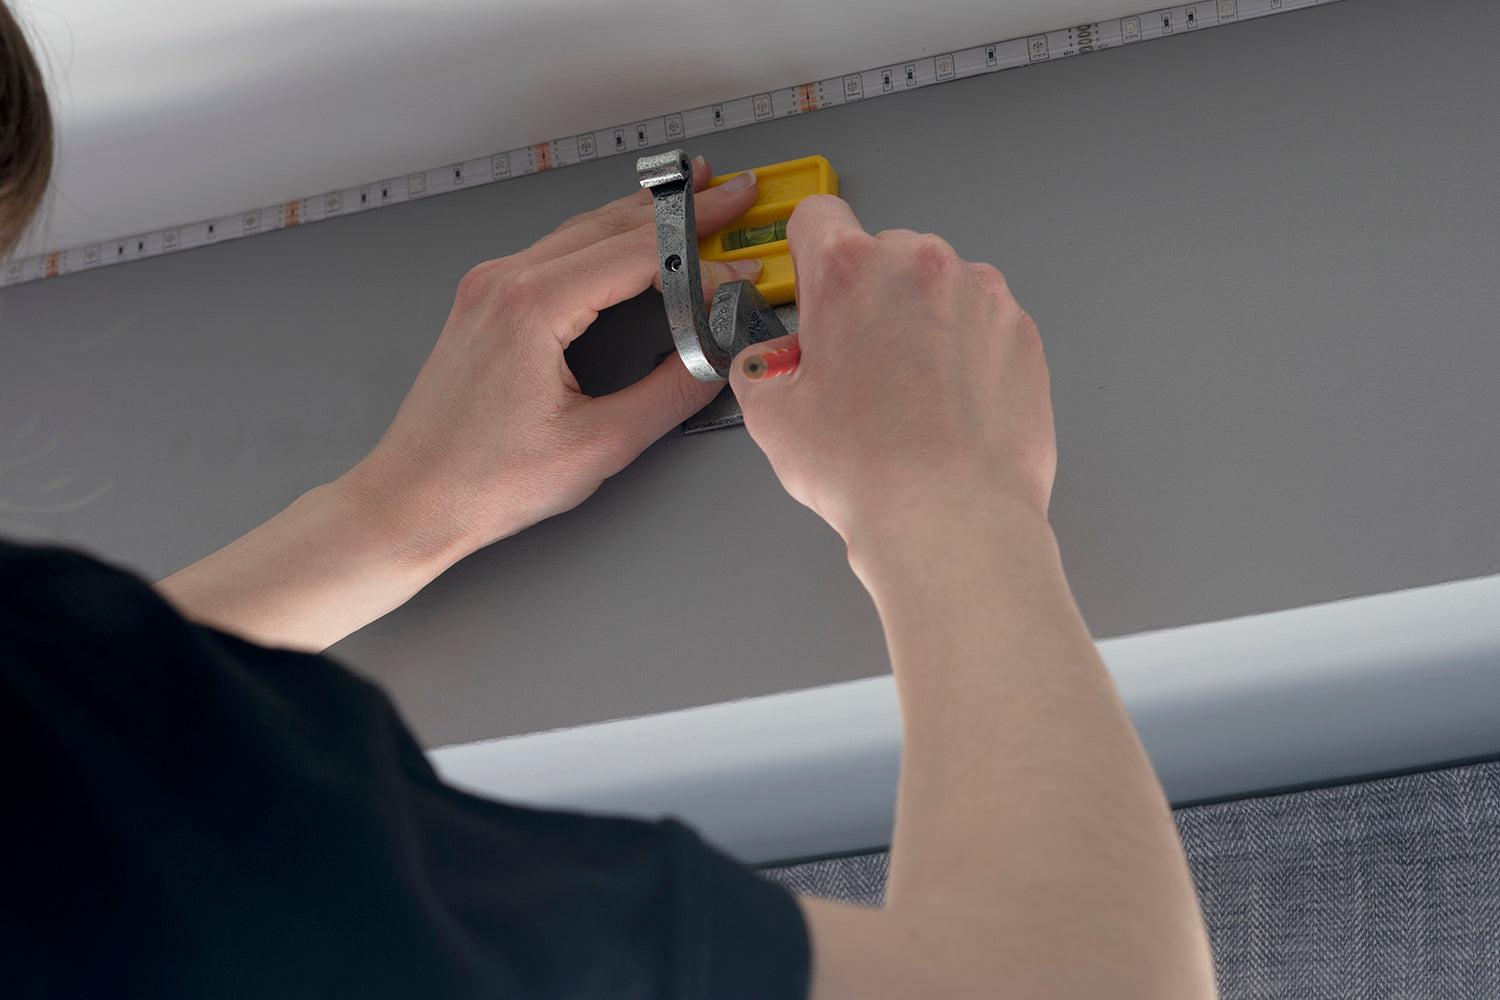
3. Drill and plug the fixing holes
Before drilling the fixing holes, check for any cables or pipes and avoid the window lintel. You may wish to drill a smaller pilot hole first before using a larger drill bit.
After drilling, remove any dust and then insert the raw plug.
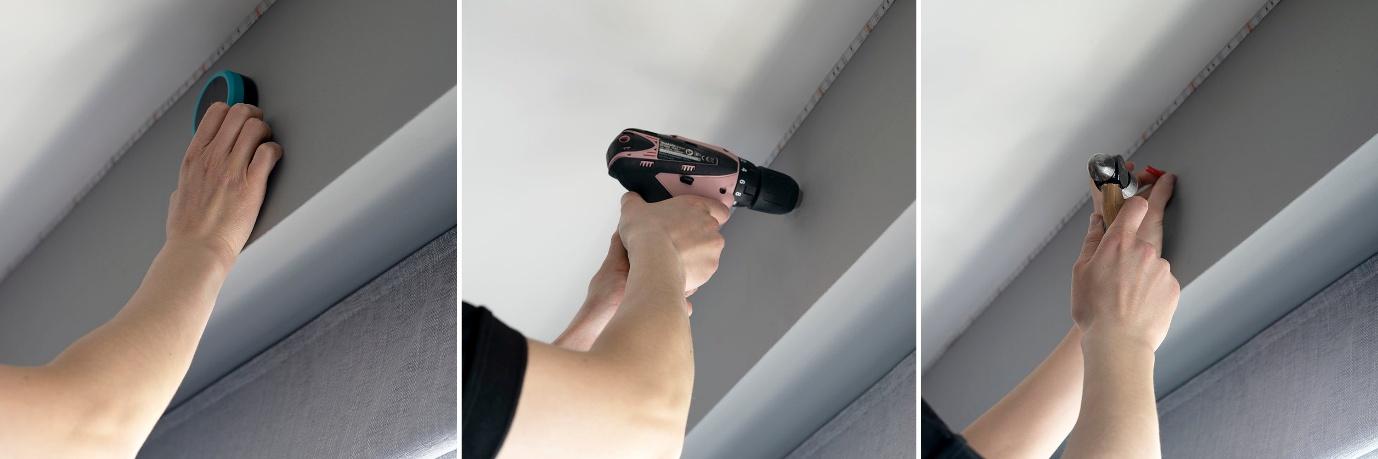
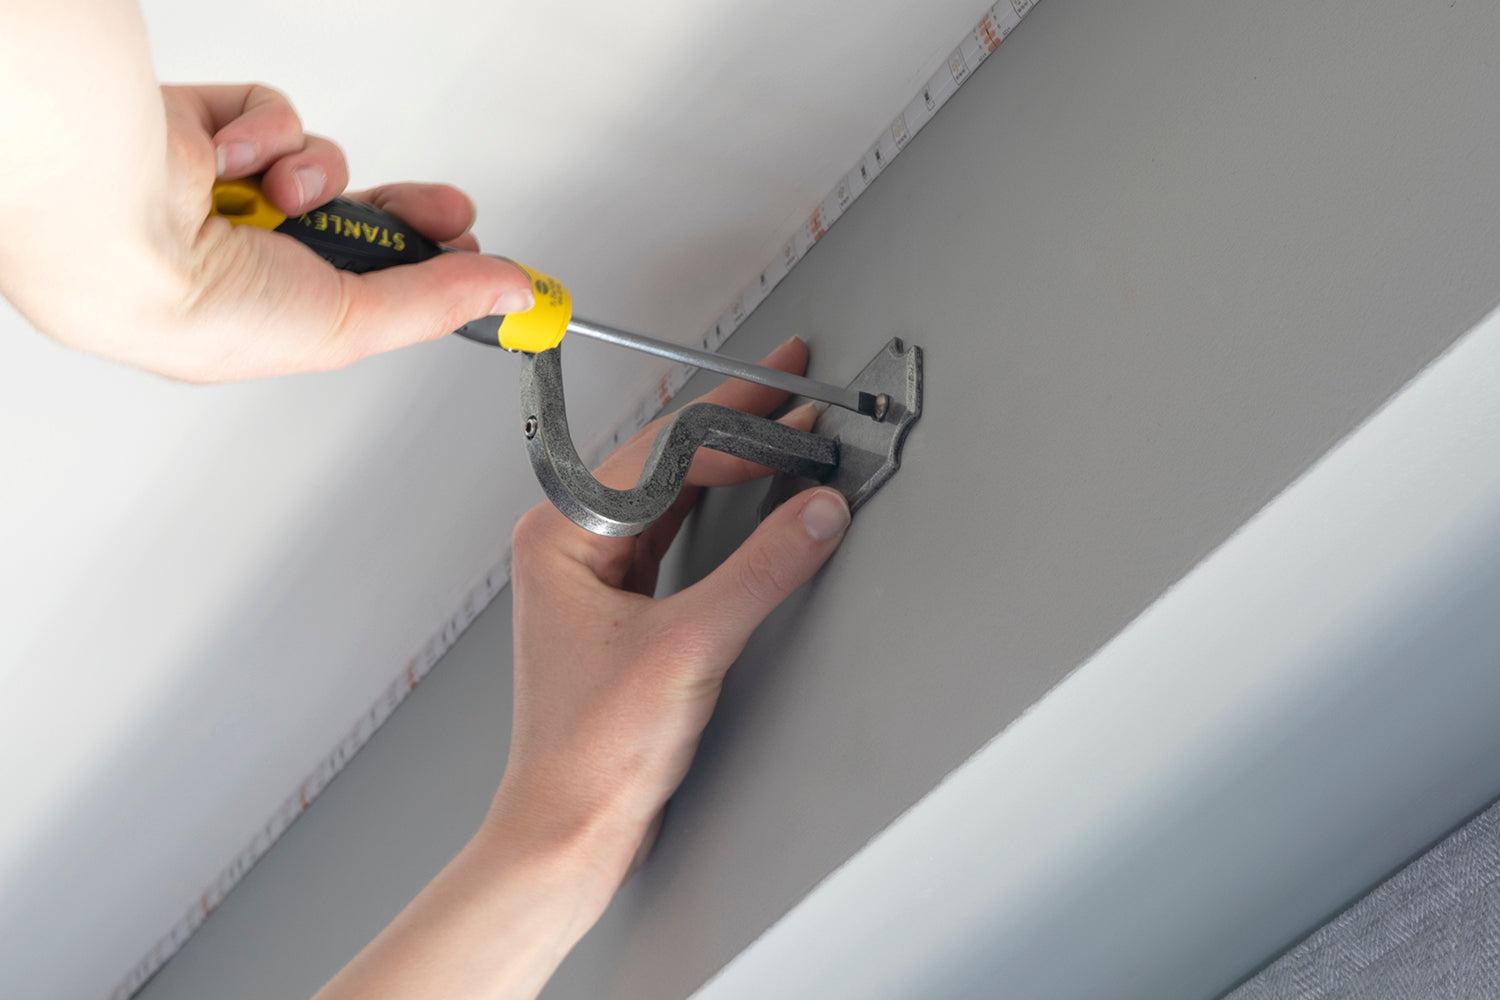
4. Fix the brackets
Using a screwdriver, screw the centre bracket into place. Next, mark the position of the end brackets using a spirit level and taking your curtain’s gather size into consideration.
We recommend that the pole and finial overhang the bracket by at least 50mm. Repeat these steps until all the brackets have been fixed.
5. Fix the finials and position the pole
Now that all three brackets have been fixed, place the pole into position. First place the curtain rings onto the pole and then fix both finials onto each end and tighten the grub screws securely.
If you are using eyelet curtains, thread the curtains onto the pole before placing it onto the brackets. If you are using a joining bar, connect the two poles together and tighten the grub screw at the end of the connecting curtain pole securely.
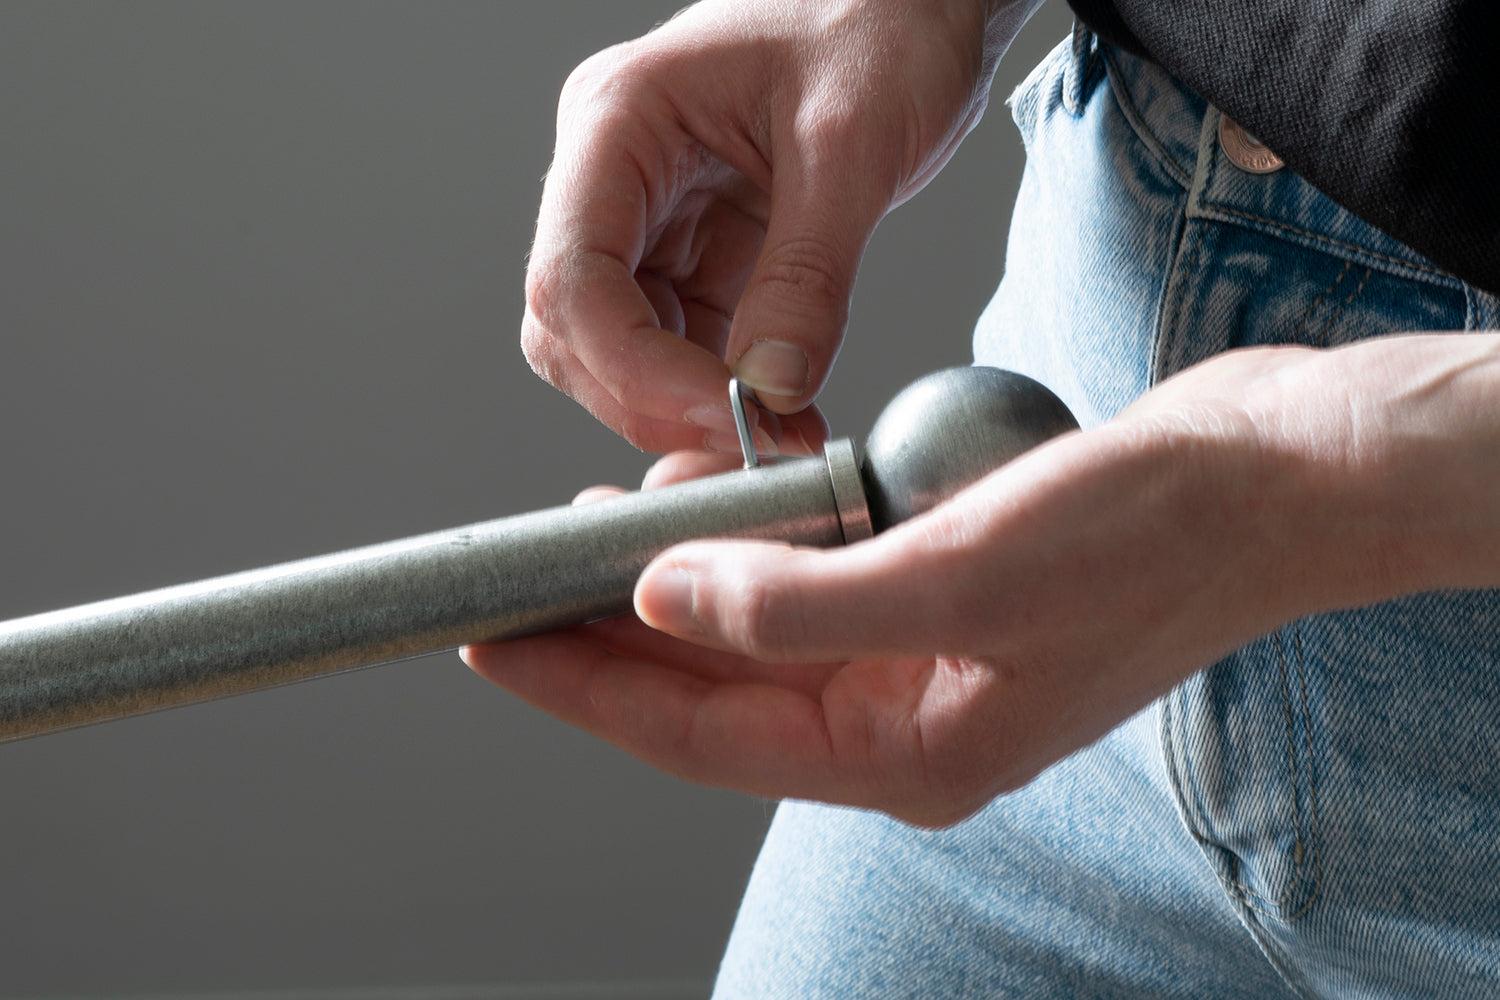
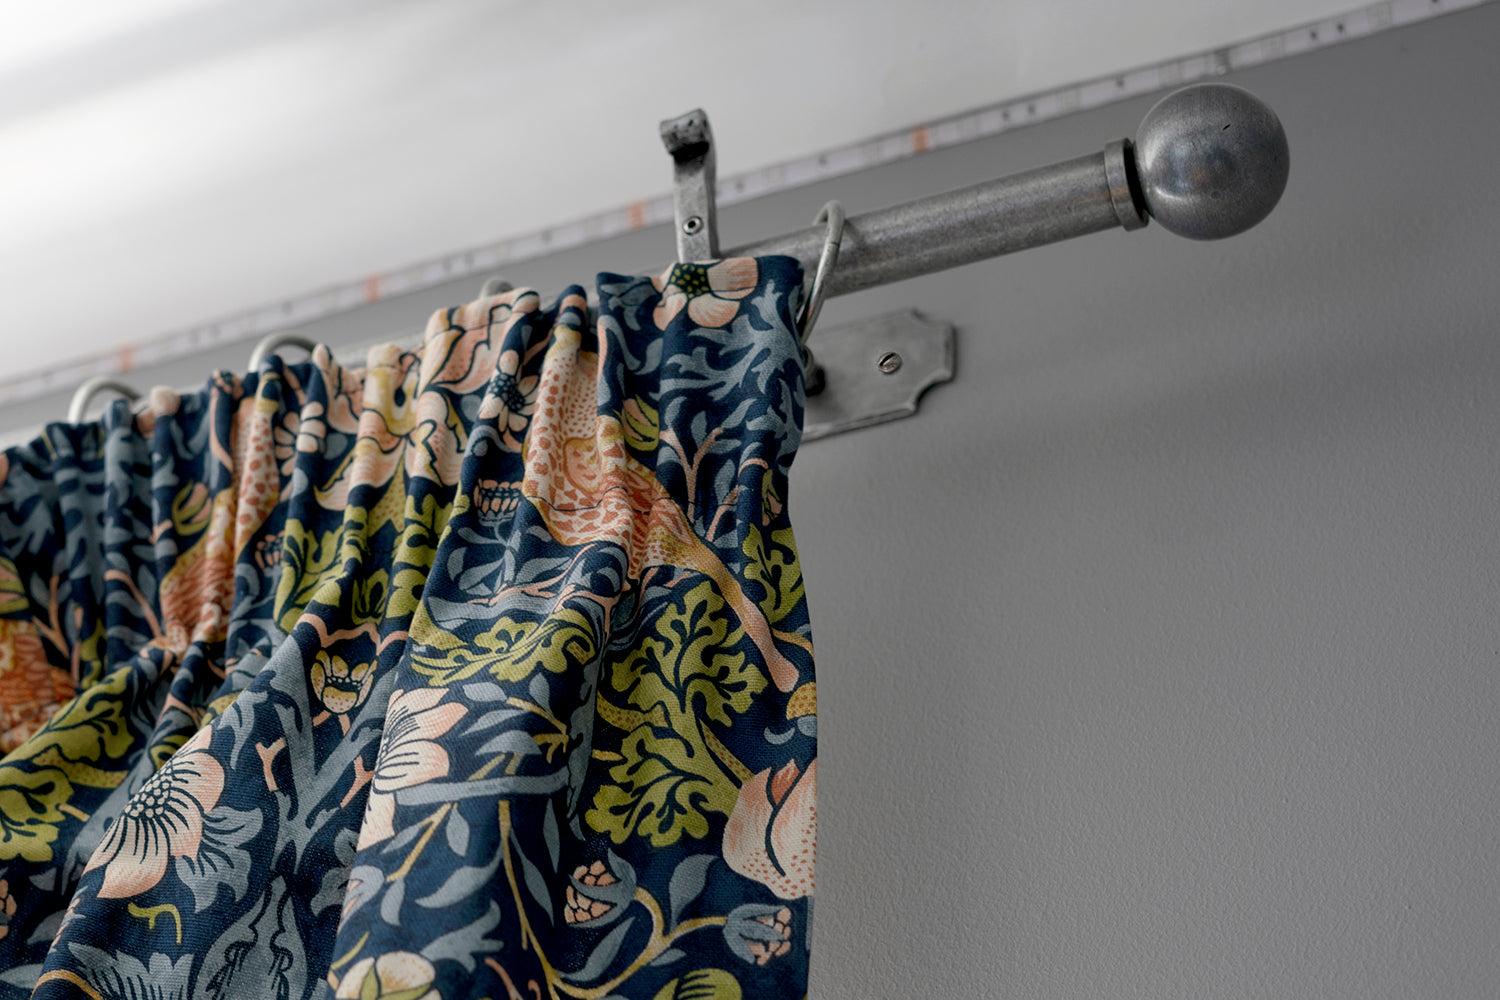
Now place the pole onto the brackets, leaving one or two rings between the end bracket and finial to anchor the curtain. Make sure that the correct number of rings are equally balanced either side of the centre bracket.
When the curtain pole and rings are in position, tighten the grub screw in the brackets with the Allen key provided.
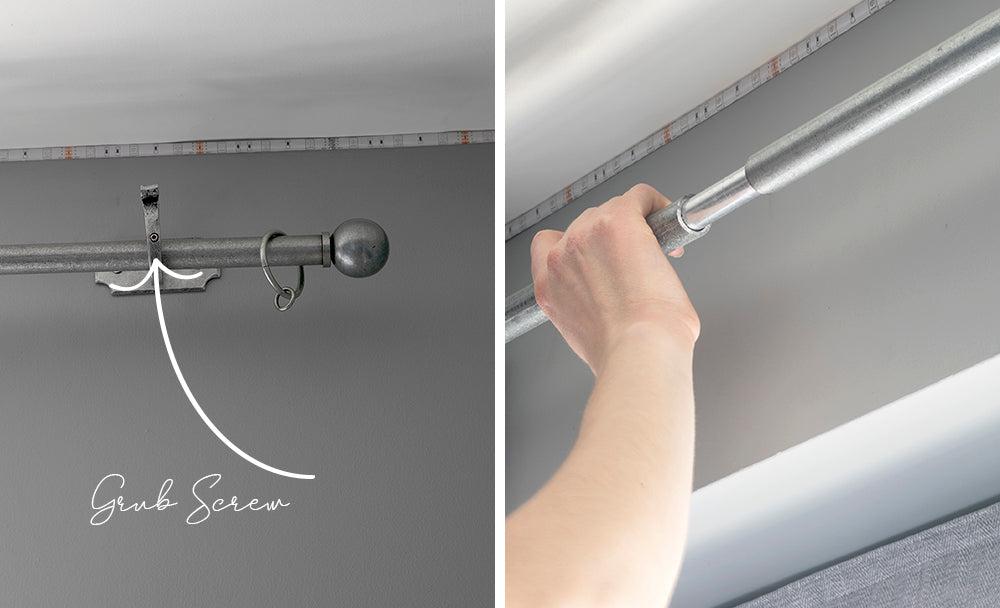
6. Attaching the curtains
If you are using curtain rings and hooks, you can now gather your curtain heading into pleats.
Next, place a curtain hook on about every fourth pleat. We suggest using four rings and hooks per 300mm. Make sure you have used the same number of rings and hooks.
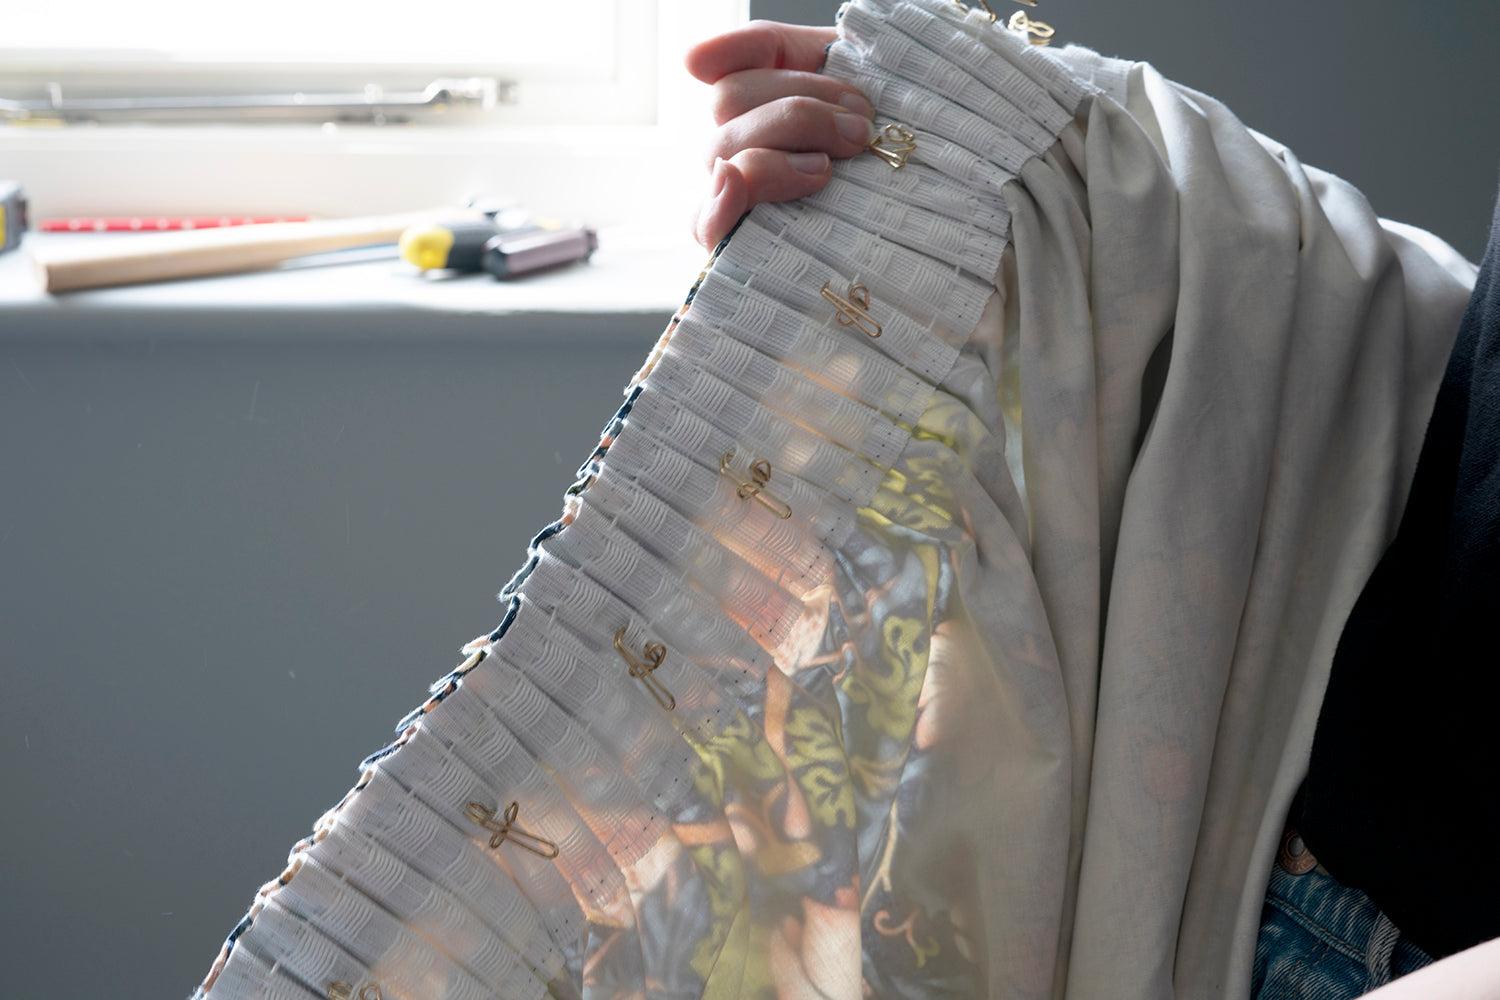
Then simply hook the curtain onto the rings.
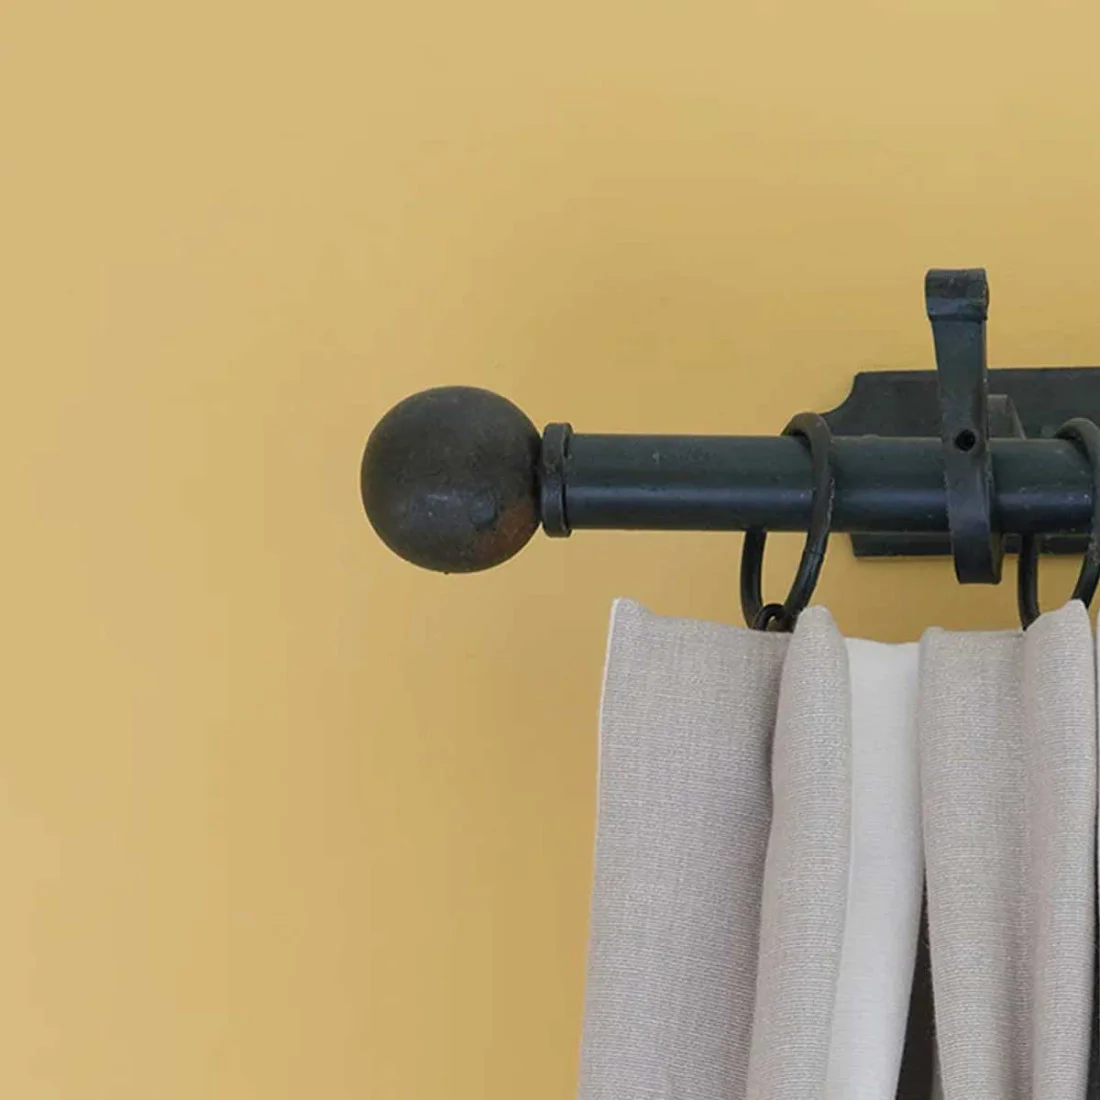

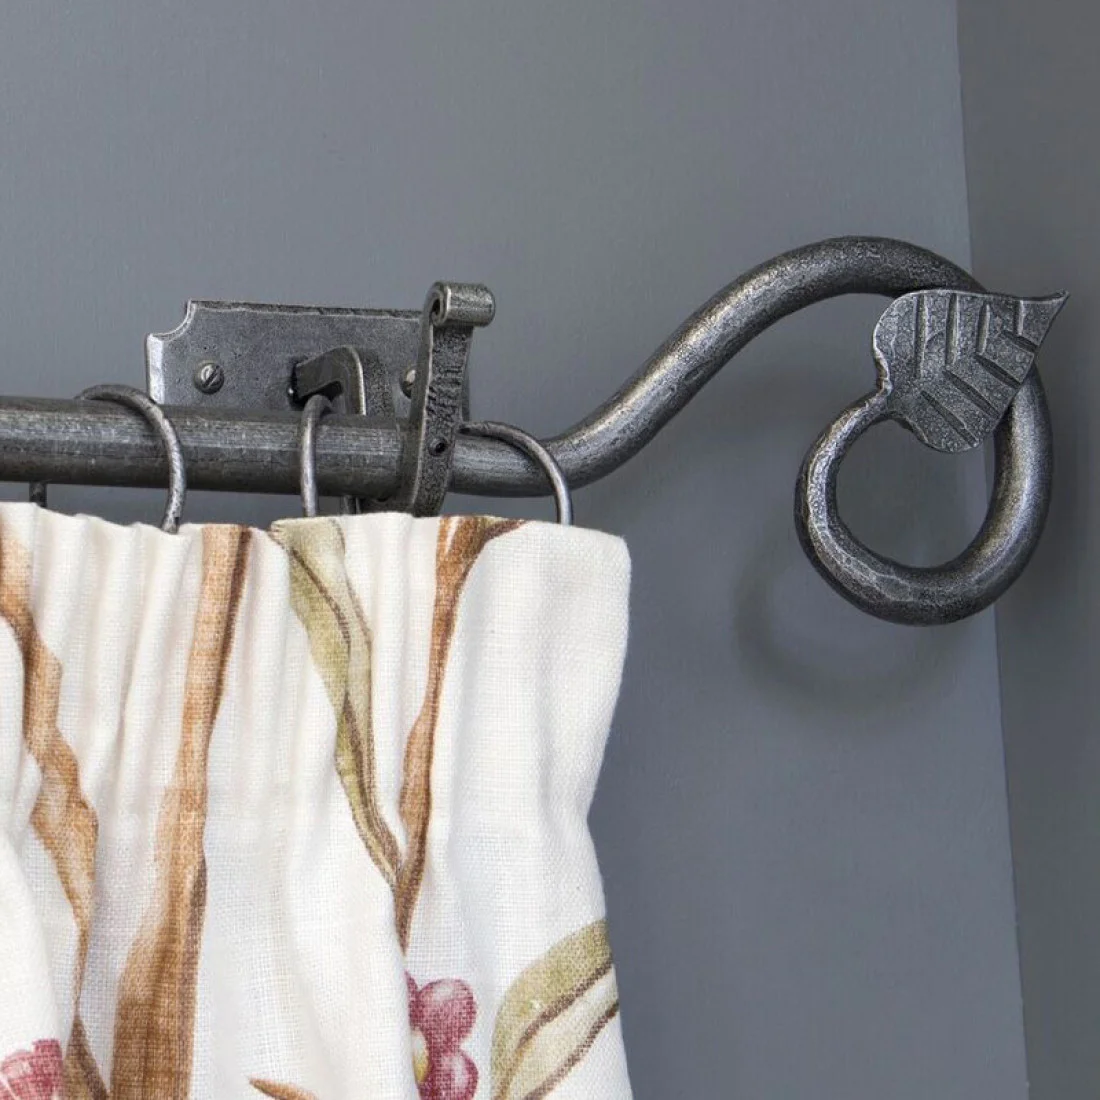
Pewter Curtain Pole
A shimmering finish that works beautifully with classic and contemporary interiors.
Shop pewter curtain polesShop Curtain Hardware
From hand-forged curtain poles and matching brackets to rings, finials and joining bars, our curtain hardware is designed to be practical, beautiful and full of character.

Leave a Comment